· Help · 8 min read
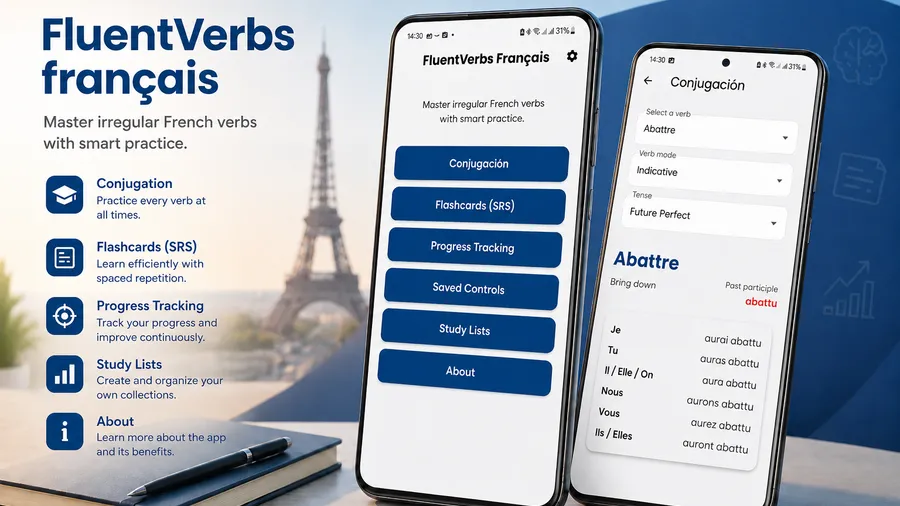
FluentVerbs Français Tutorial
Learn how to use the application step by step.
Home Menu
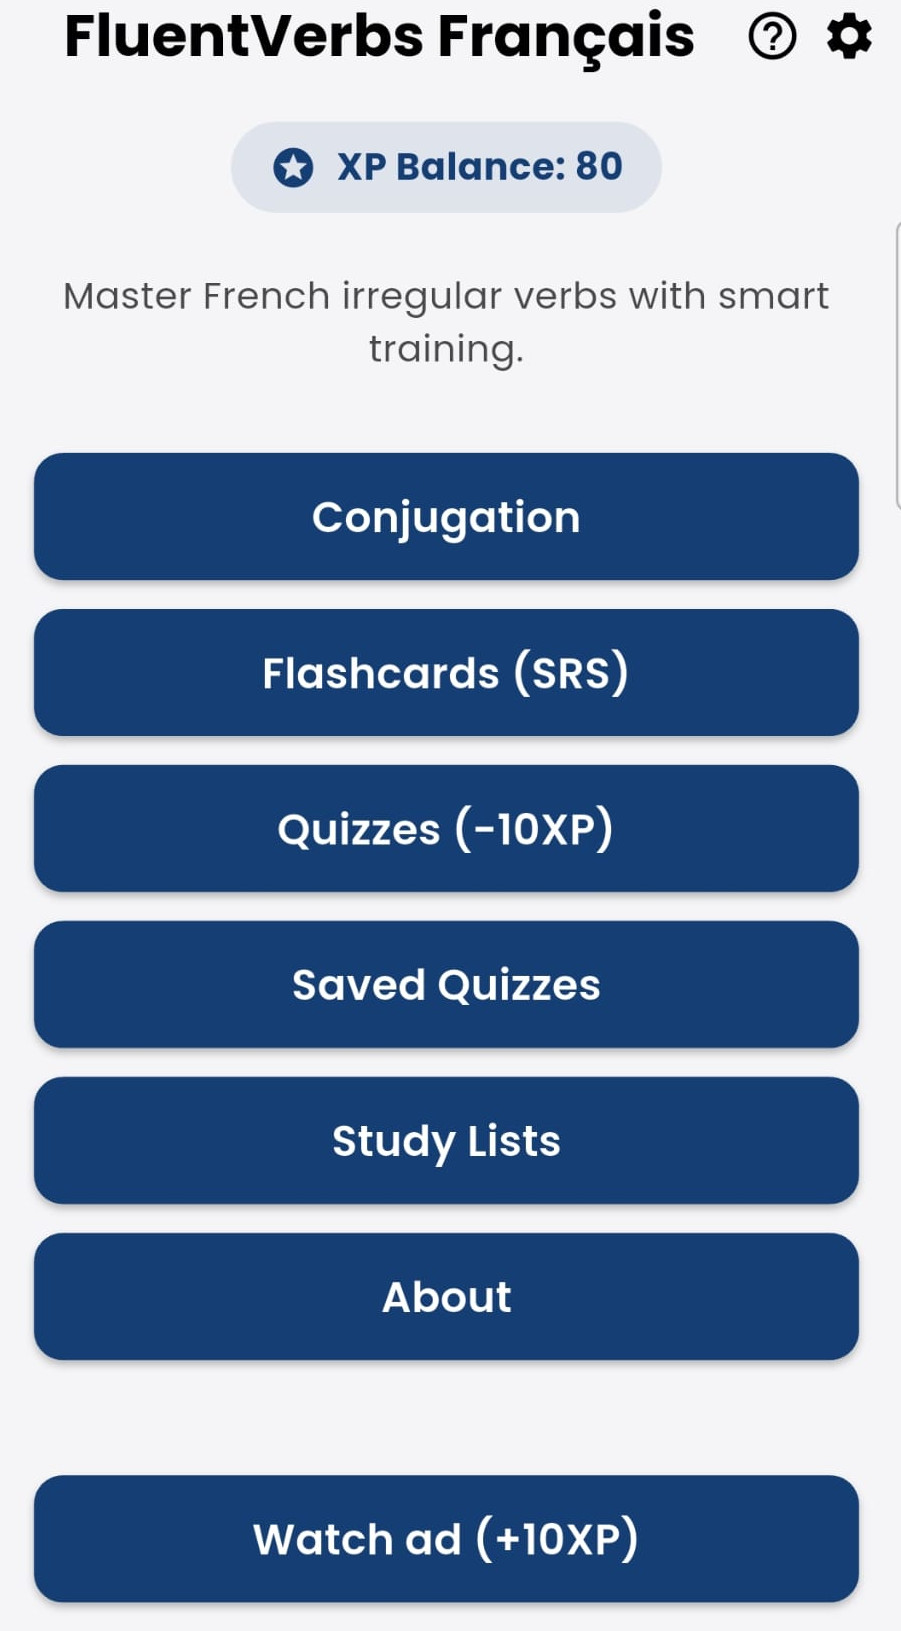 From the main screen, students can access any of the application's sections: conjugation, study cards (flashcards), quizzes, saved quizzes, study lists, and about.
You can also earn XP points by watching video ads (the XP point system is explained later).
Tapping the question mark ”?” icon opens this tutorial.
Tapping the gear icon opens the application settings section.
App Settings
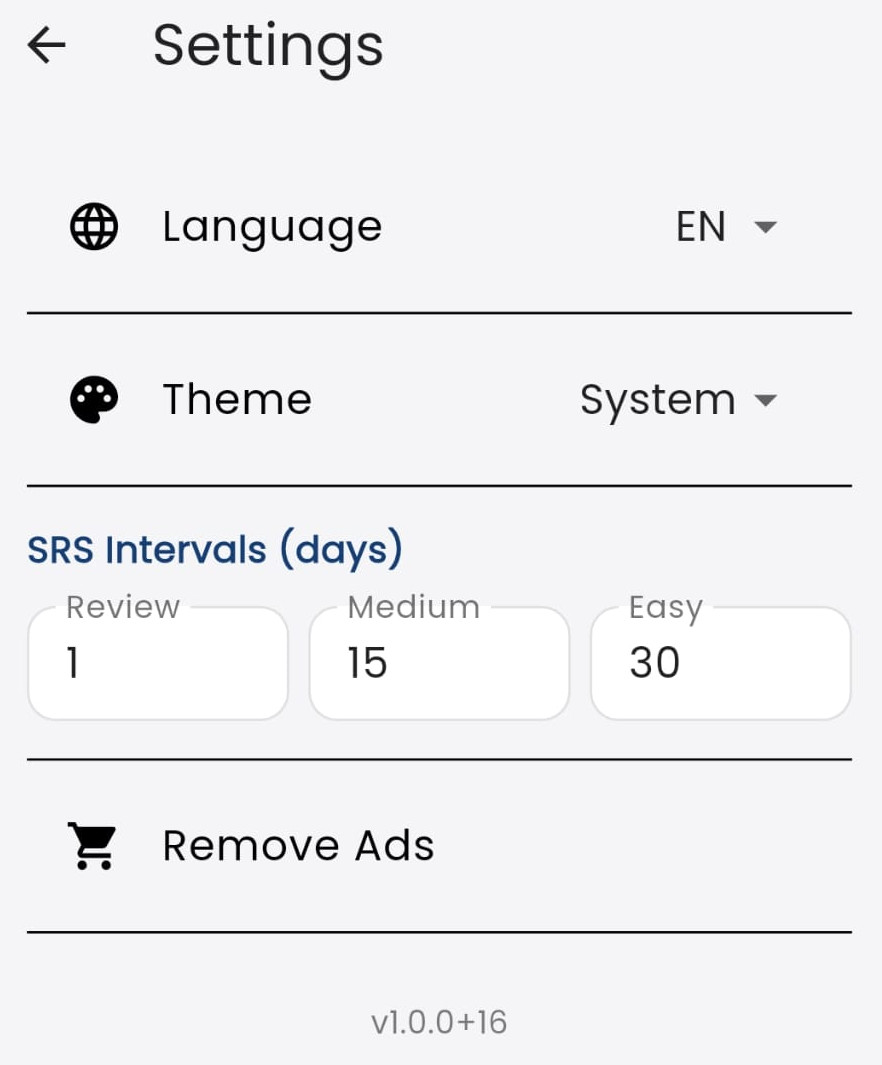 In this section, the student can choose the interface language from the following: (FR) French, (ES) Spanish, (EU) Basque, (CA) Catalan, (EN) English, (IT) Italian, (GL) Galician, and (PT) Portuguese.
The visual theme of the interface can be light or dark. Selecting “System” will adapt the theme to the student’s global system preference.
The time spacing used in the flashcard section is configured here.
The student can remove ads from the app through an in-app purchase.
Conjugation
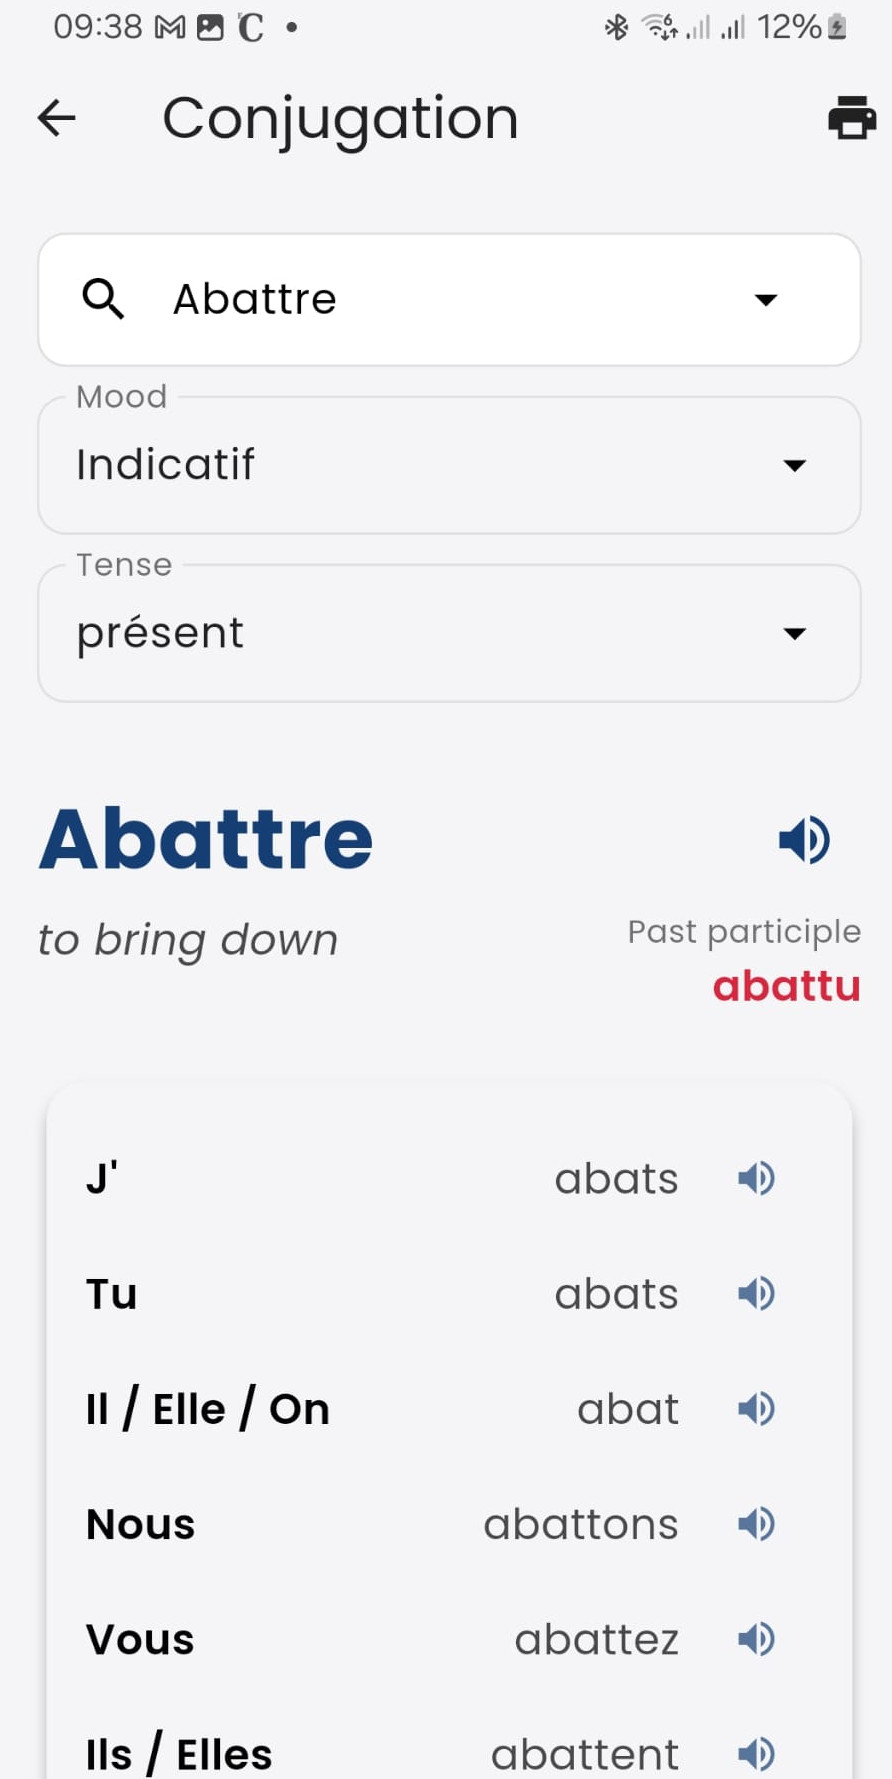 In the conjugation section, the student can select the verb, tense, and mood to view the corresponding conjugation.
The translation into the interface language appears below the infinitive, and the verb’s past participle is shown to the right.
Tapping the printer icon in the top-right corner of the screen enables the conjugation sheet download feature.
Tapping the speaker icons allows you to listen to the pronunciation of the infinitive or each conjugated form.
Conjugation sheet:
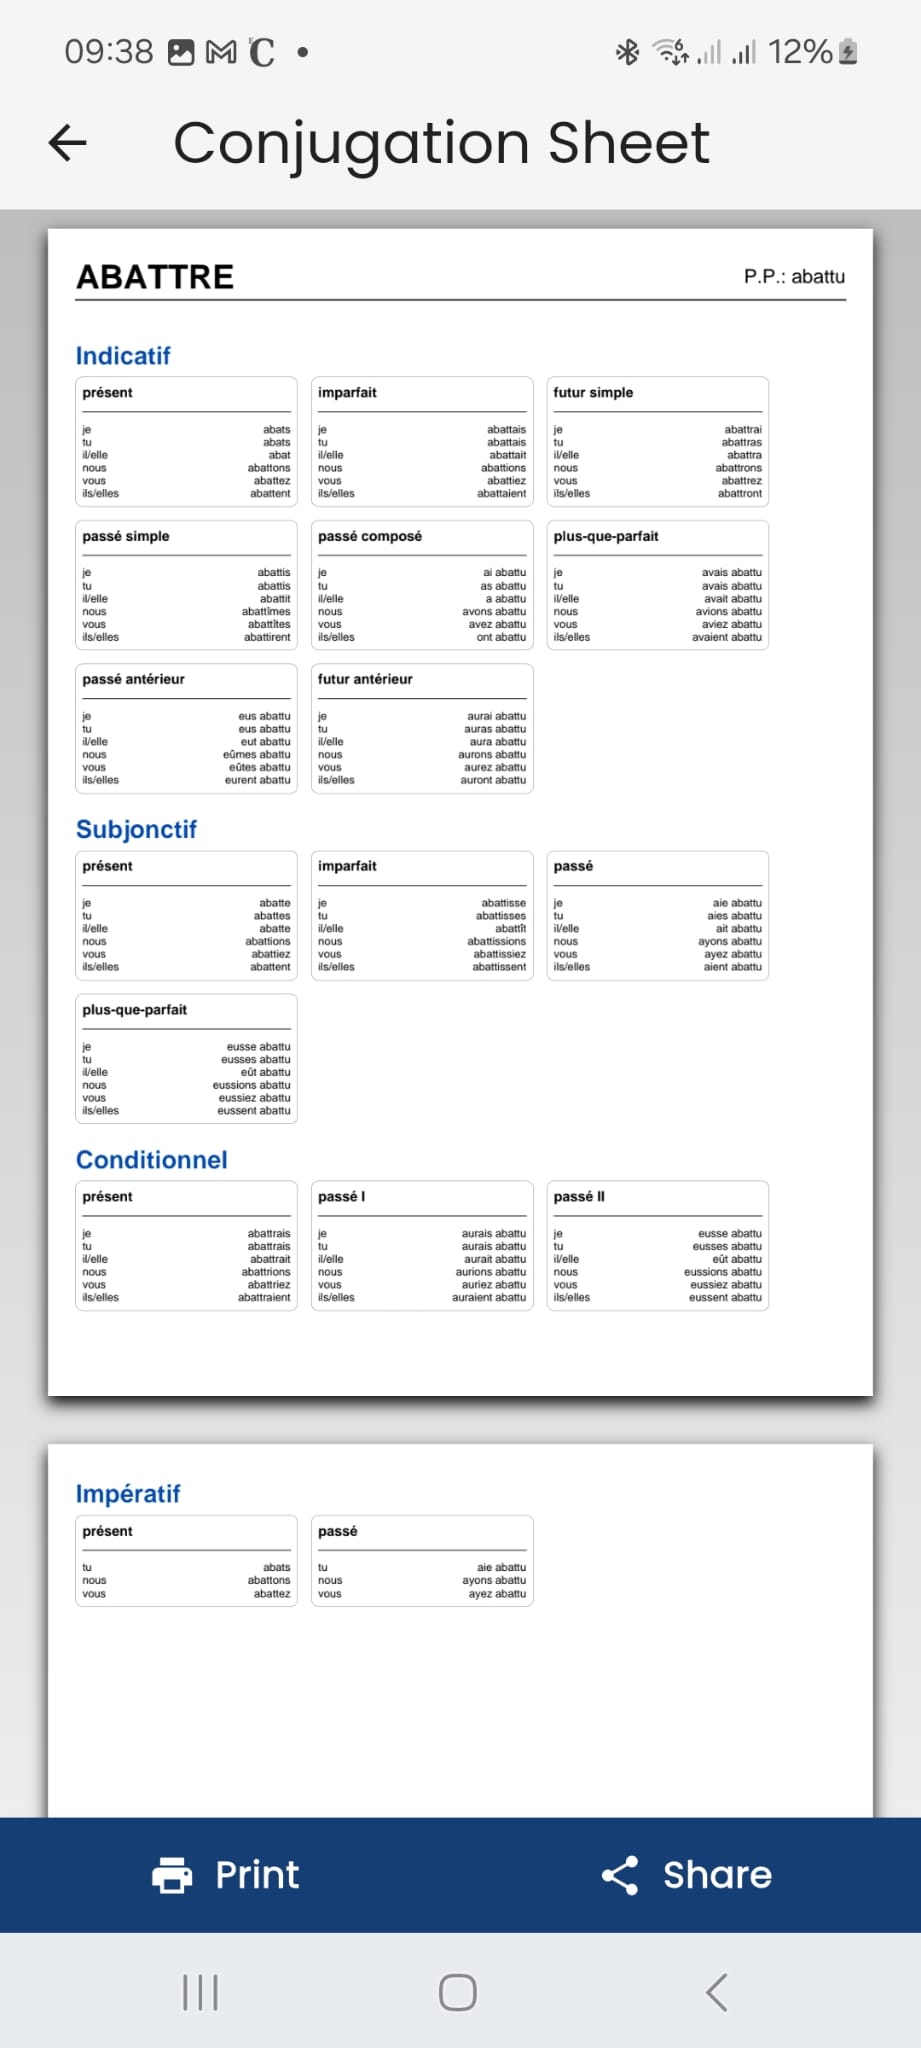 This is a premium feature and, therefore, carries a cost of 5 XP. The application informs the student before deducting the 5 points, allowing them to cancel the operation.
The purpose of this feature is to enable students to share the conjugation sheets for each verb in PDF format, or to download or print them directly from their phone.
The sheets feature a highly compact layout, allowing all verbal tenses and moods to be displayed on a single page.
There are two buttons: “Print” directs the student to the screen explained below, while “Share” opens the app selector to share the sheet.
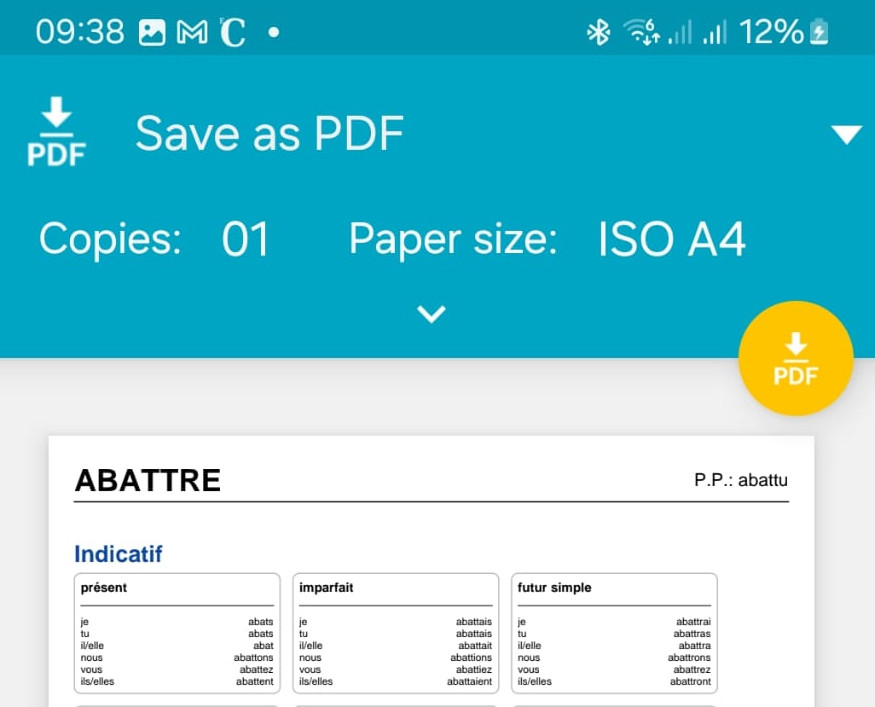
On this screen, various print parameters can be selected, such as the number of copies or paper size, and it allows the print job to be sent to a printer connected to the Wi-Fi network.
If “Save as PDF” is selected, the flashcard can be saved to a folder on the device.
Study Lists
Although study lists appear fifth in the main menu, we prioritize them in this tutorial because they are the cornerstone of the entire application. Study lists allow you to segment your learning, helping you plan and track your progress.
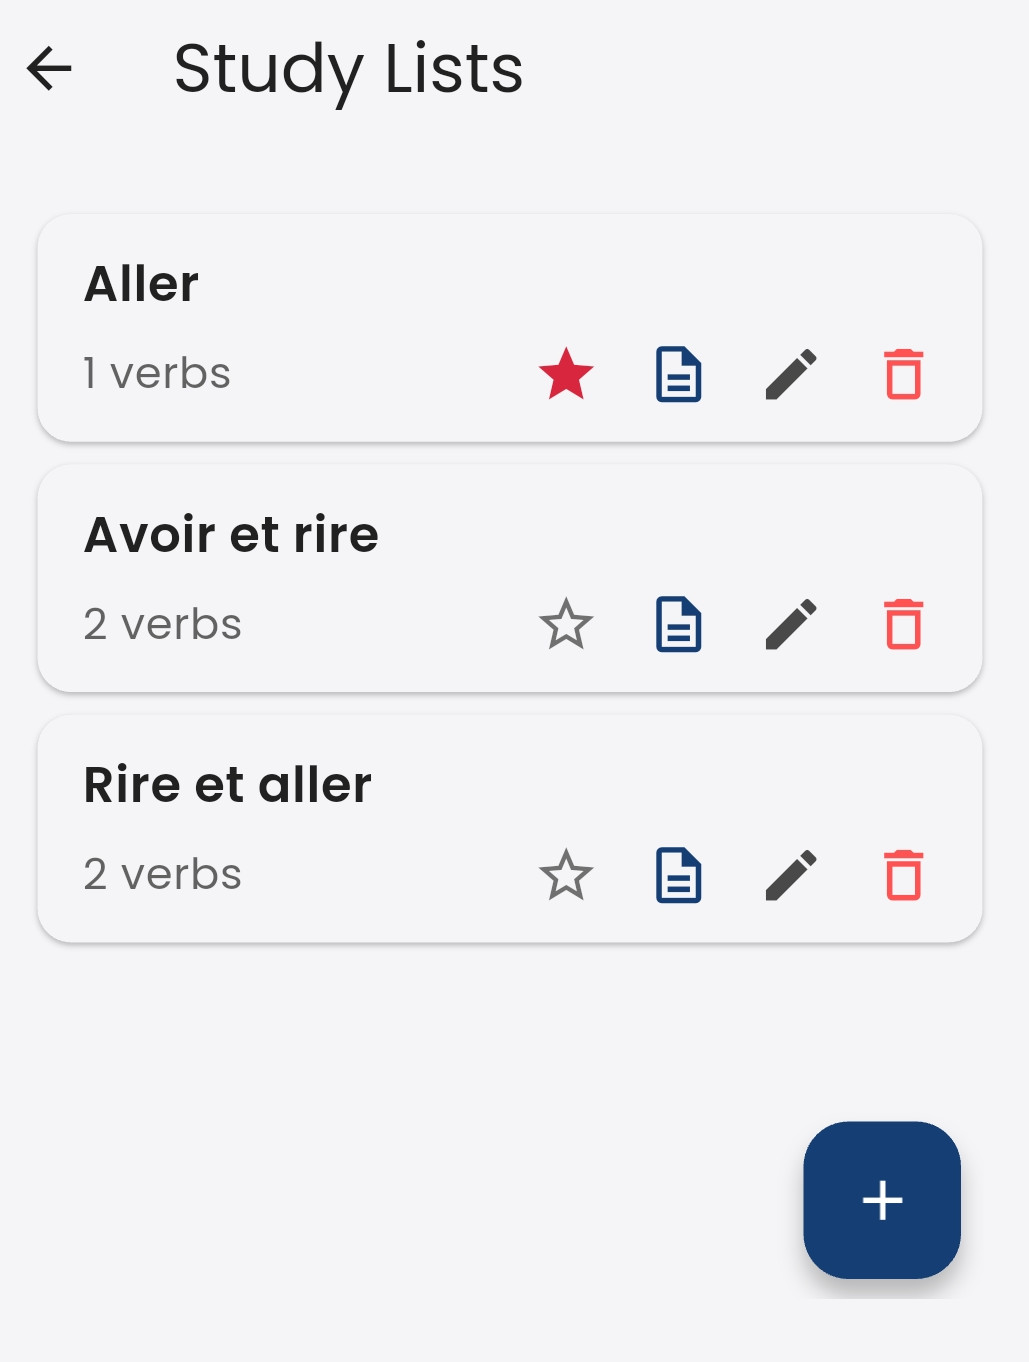 The image shows three study lists: "Aller" with only one verb, "Avoir et rire" and "Rire et aller" with 2 verbs each.
The red star indicates that the “Aller” list is currently selected. Therefore, flashcards and quizzes will correspond to that list.
The three icons to the right of the star represent: view, edit, or delete the list.
Creating a Study List
The button with the ”+” sign in the bottom right creates a new list. Creating a new list involves three steps.
Step 1:
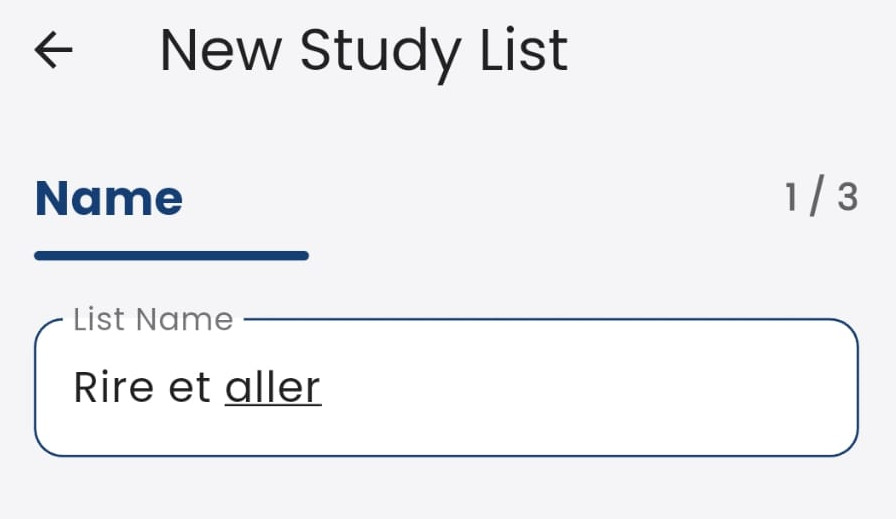 Give the list a name and then tap the "Next" button.
Step 2:
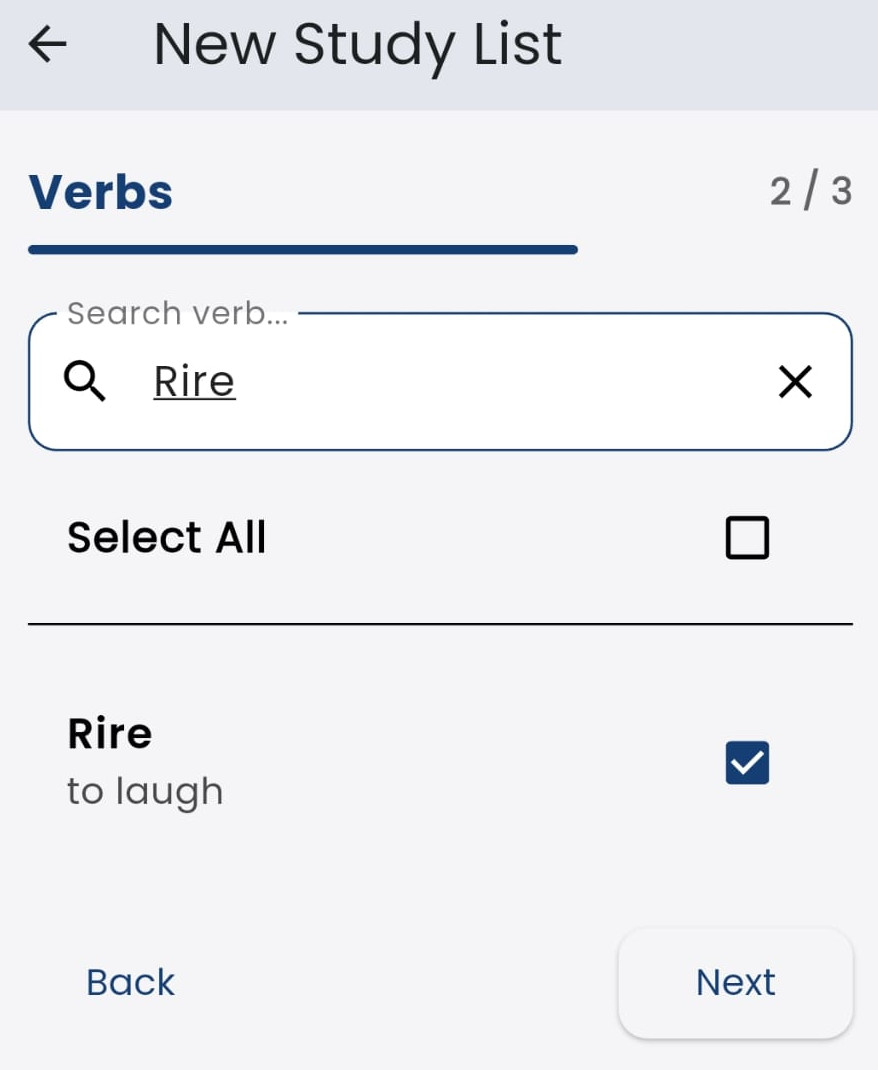 In this step, choose the verbs to include in the list. You can use the search filter to narrow down the list of available verbs.
Then tap the “Next” button to proceed to the third and final step, or tap “Back” to return to step 1. Already selected verbs will not be lost.
Step 3:
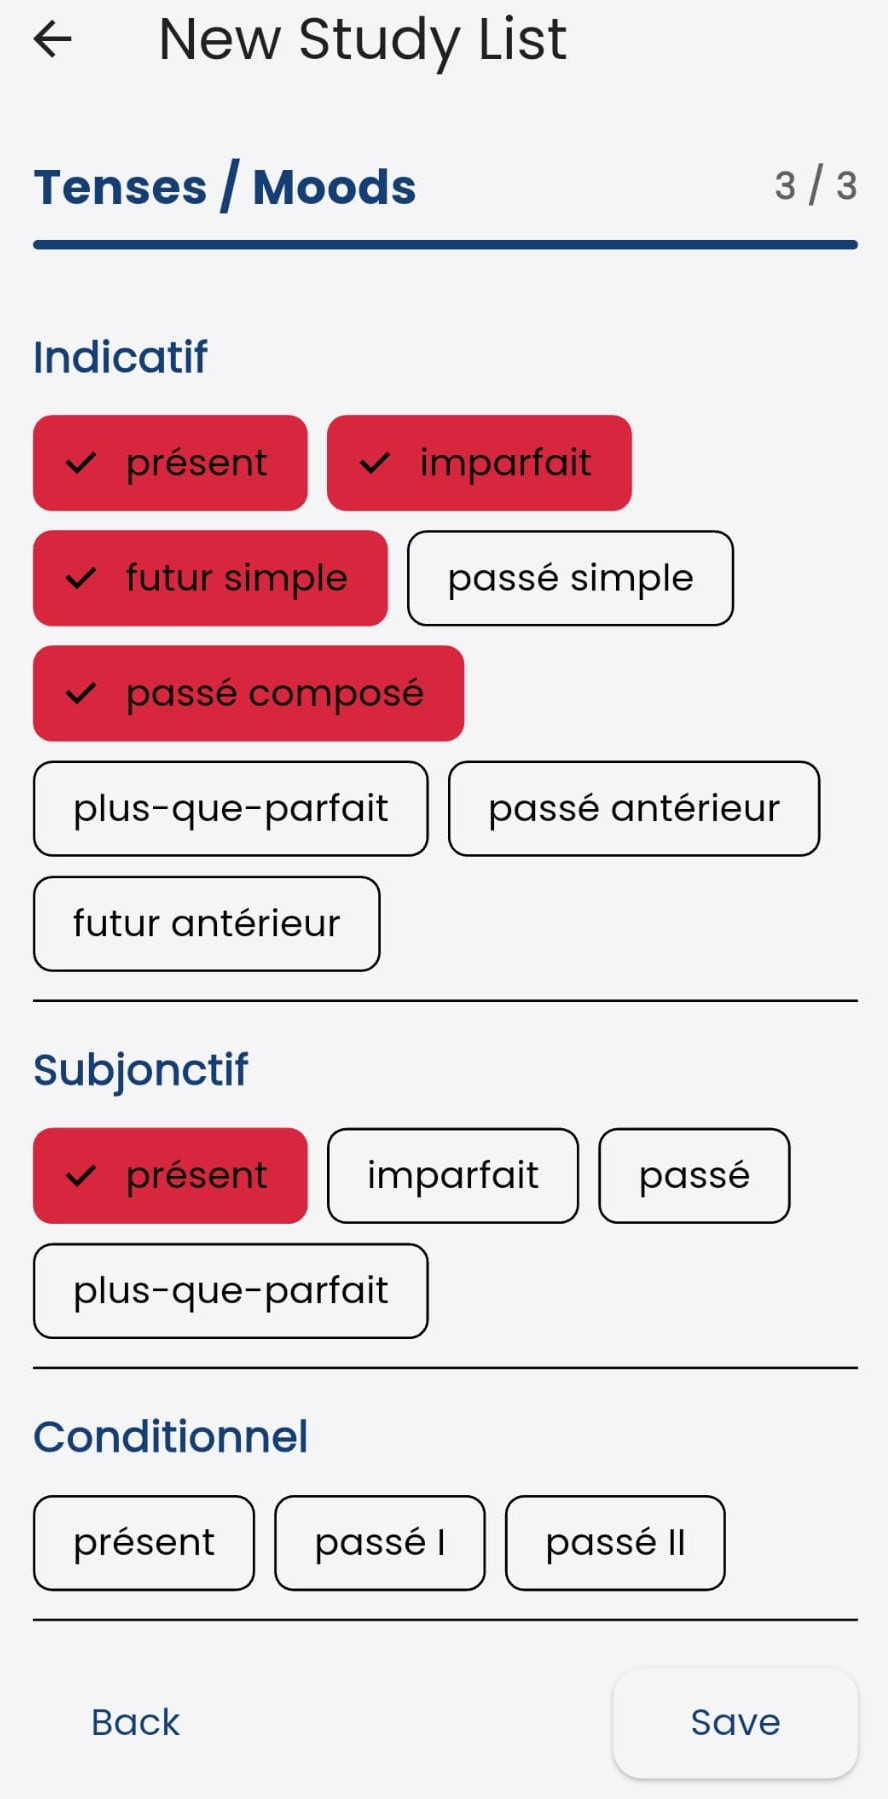 In this final step, the student must choose which tenses and moods to include in the study list.
Both flashcards and quizzes will be restricted to the selected verbs, tenses, and moods.
Finally, tap the “Save” button to finish.
A student can have as many study lists as they want.
Other buttons

- 📄 Sheet: view the study list
- ✏️ Pencil: edit the study list
- 🗑️ Trash can: delete the study list
Viewing a Study List
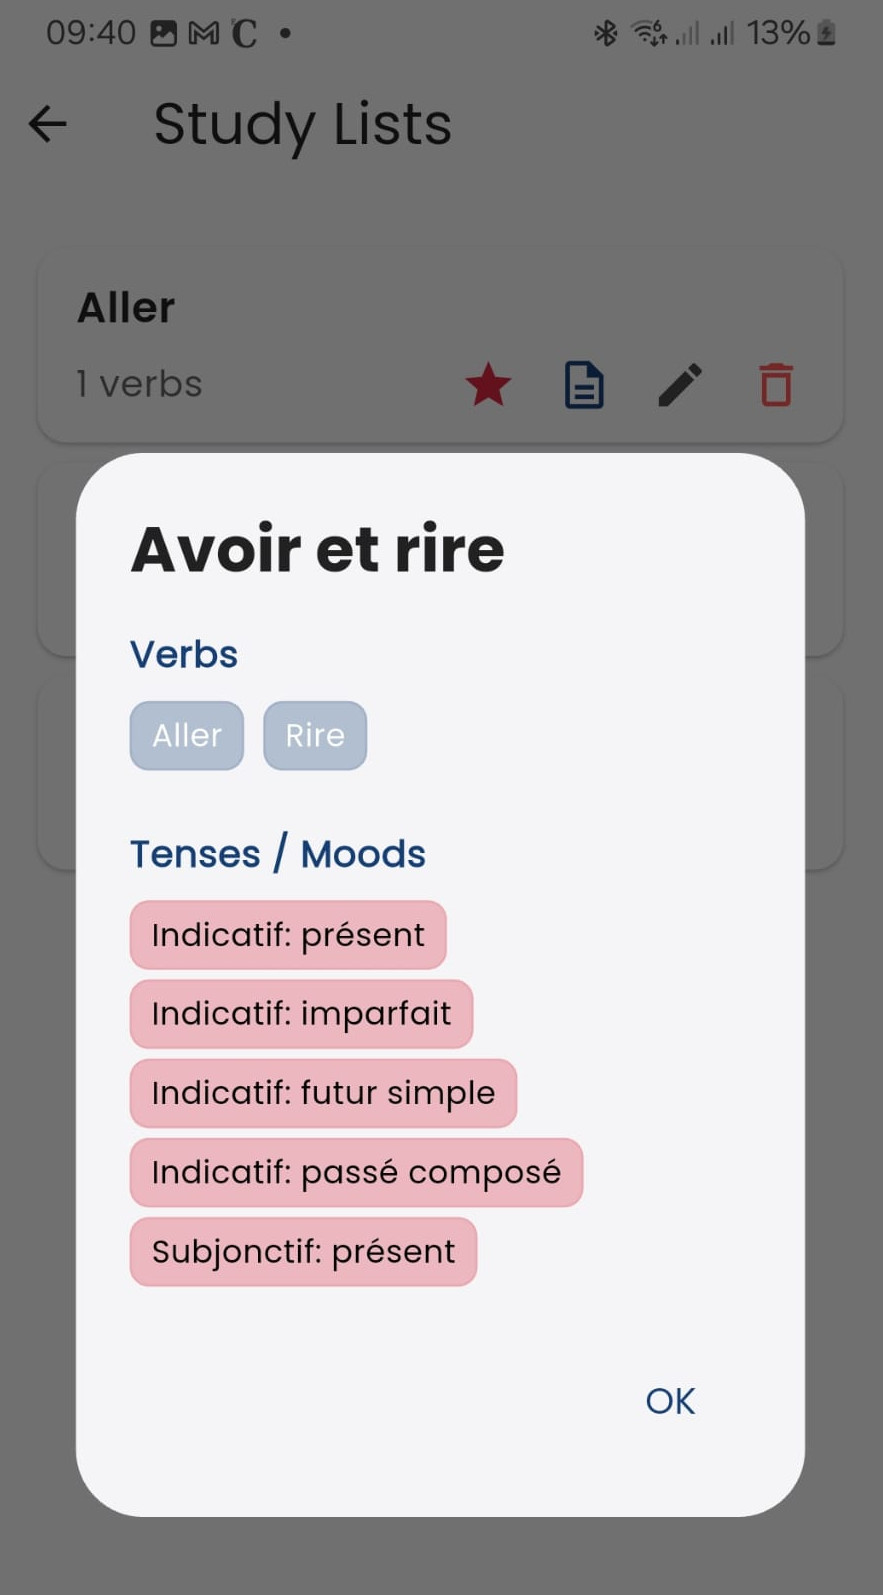 The sheet icon opens an overlay that displays the contents of the list in a compact format.
If there is a large number of verbs, the selected tenses and moods might not be visible initially. The student can swipe upwards on the screen to reveal them.
Tapping the accept button closes the overlay.
Editing a Study List
The pencil icon opens an overlay displaying the contents of the list. Editing follows the same three steps as creating a new list.
Deleting a Study List
The trash can icon deletes the selected study list. Before deleting, the application will ask the student for confirmation.
Study Cards (Flashcards)
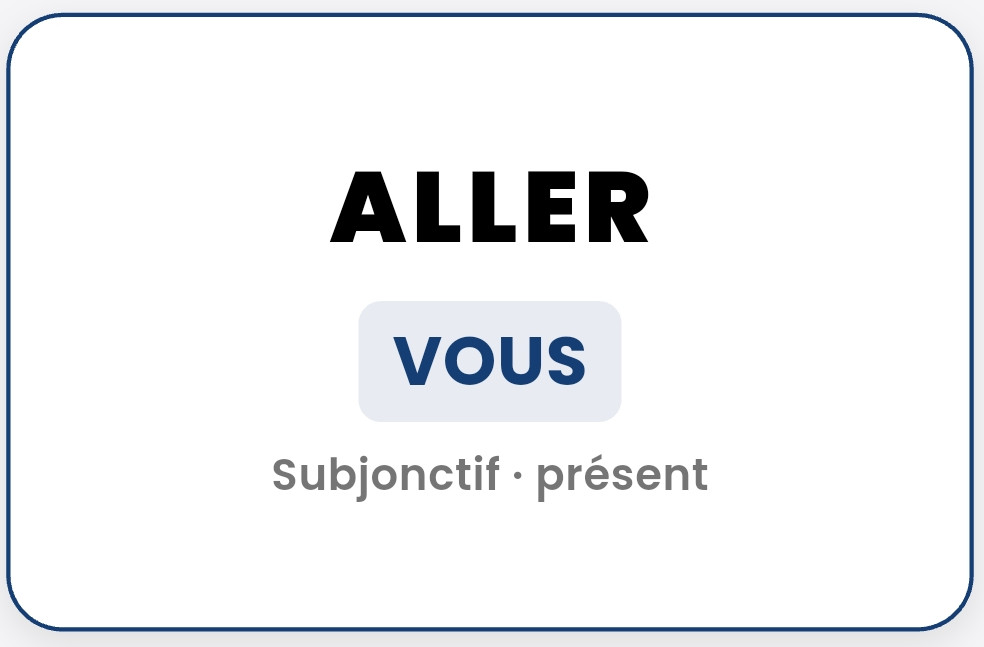 The card presents the student with the infinitive of the verb, the person, the tense, and the mood. The student can answer out loud or write down the answer.
By tapping the card, the answer appears on the screen.
The three buttons below the card manage spaced repetition. 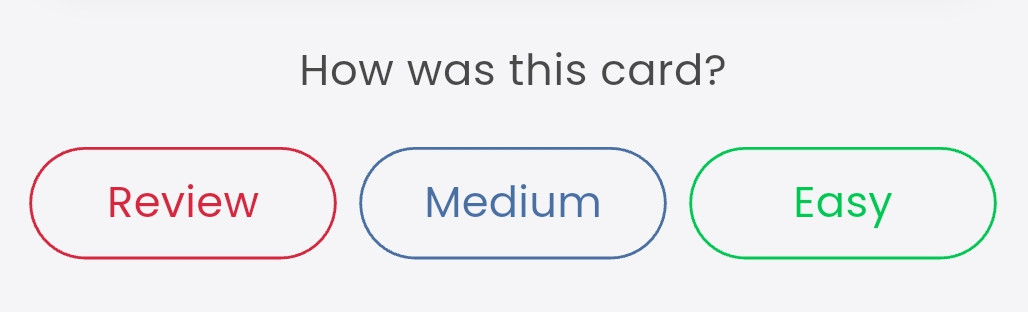
Spaced repetition is a learning technique where you review information at increasing intervals of time. Instead of cramming all at once, this strategy challenges the forgetting curve, helping your brain consolidate the data directly into long-term memory.
Why does it work?
- Defeats forgetting: Memory decays quickly after learning something. Reviewing right when you are about to forget strengthens the neural connection.
- Cognitive effort: By leaving gaps of time, your brain has to work a bit harder to recall the information, and this extra effort is what strengthens long-term learning.
How is it applied?
- Basic rule: A common schedule is to review the topic on the same day, the next day, after 3 days, after 7 days, and finally, after a month.
- Combination: It works excellently when combined with active recall, which consists of testing yourself (with questions or flashcards) instead of simply rereading your notes.
In this application, the repetition spacing is configurable.
Quizzes
Taking a Quiz
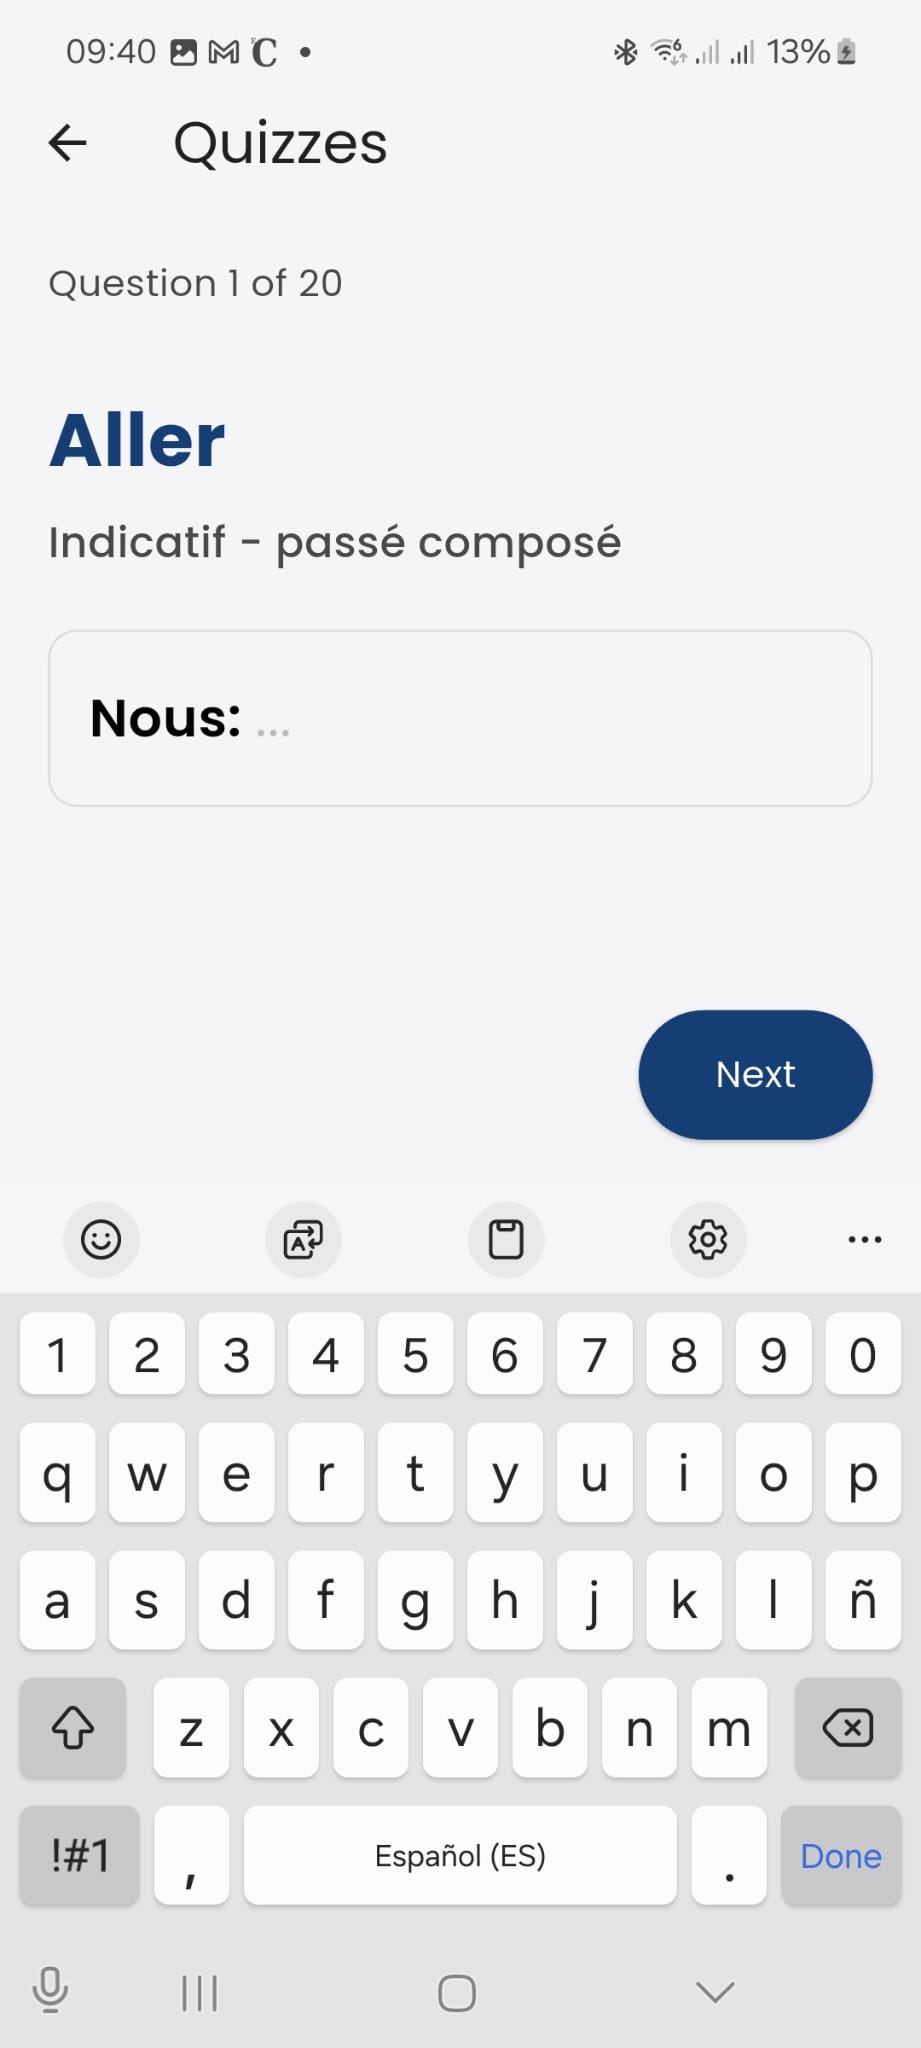 A quiz consists of 20 questions based on the active study list. The student must answer the questions, taking great care to avoid spelling mistakes.
Once a question is answered, tap the next button. There is a back button to return and review previous answers.
There is no time limit to finish a quiz. The student can take as much time as they need. Additionally, if the student leaves a quiz unfinished, the next time they open the app, they can continue right where they left off.
Reviewing Mistakes
 At the end of the quiz, the app will show the score achieved and the mistakes made, alongside the correct answers.
This is one of the best ways to learn and improve. Students can see where they struggle to focus their future study.
Two buttons appear below. The save button allows you to review the results of a quiz by entering the “Saved Quizzes” section at any time. The repeat button simply starts a new quiz on the same study list.
Saved Quizzes
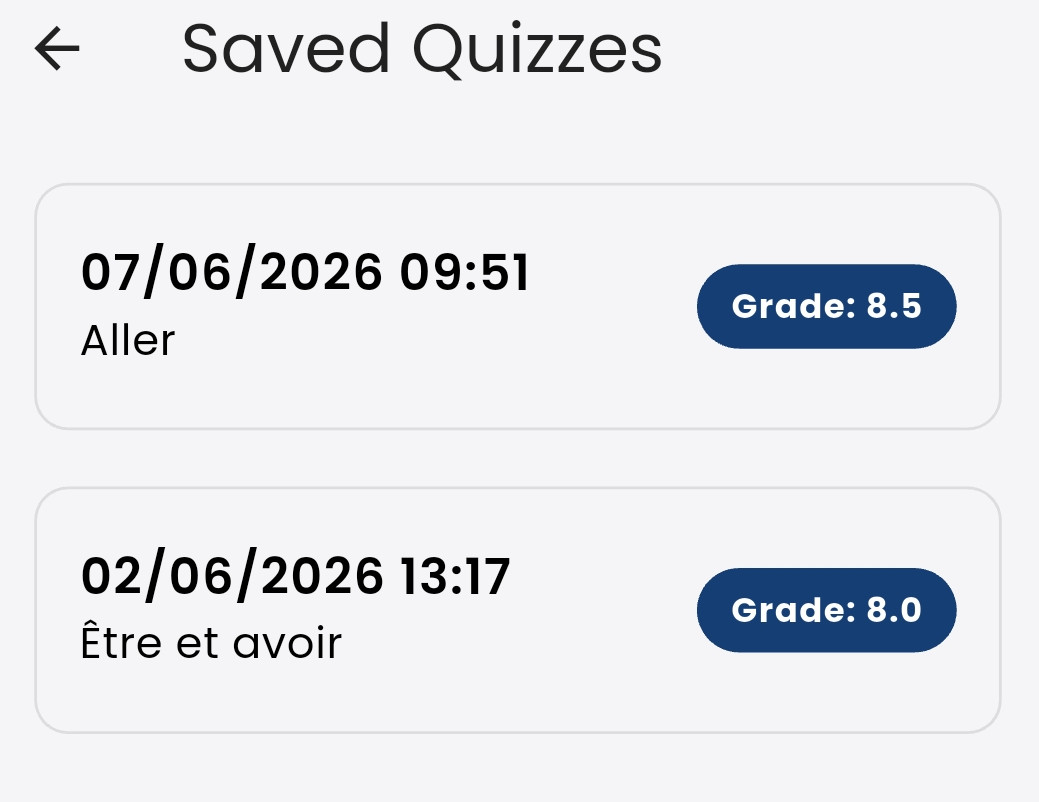 In this section, the student can find previously saved quizzes. It shows the date and time the quiz was taken, the study list used, and the grade obtained. Tapping on any of them opens the same mistake review screen shown at the end of a quiz.
This section helps students monitor their learning progress. When repeating a quiz on a study list, are results improving? Are the grades high enough to start studying a different list?
About
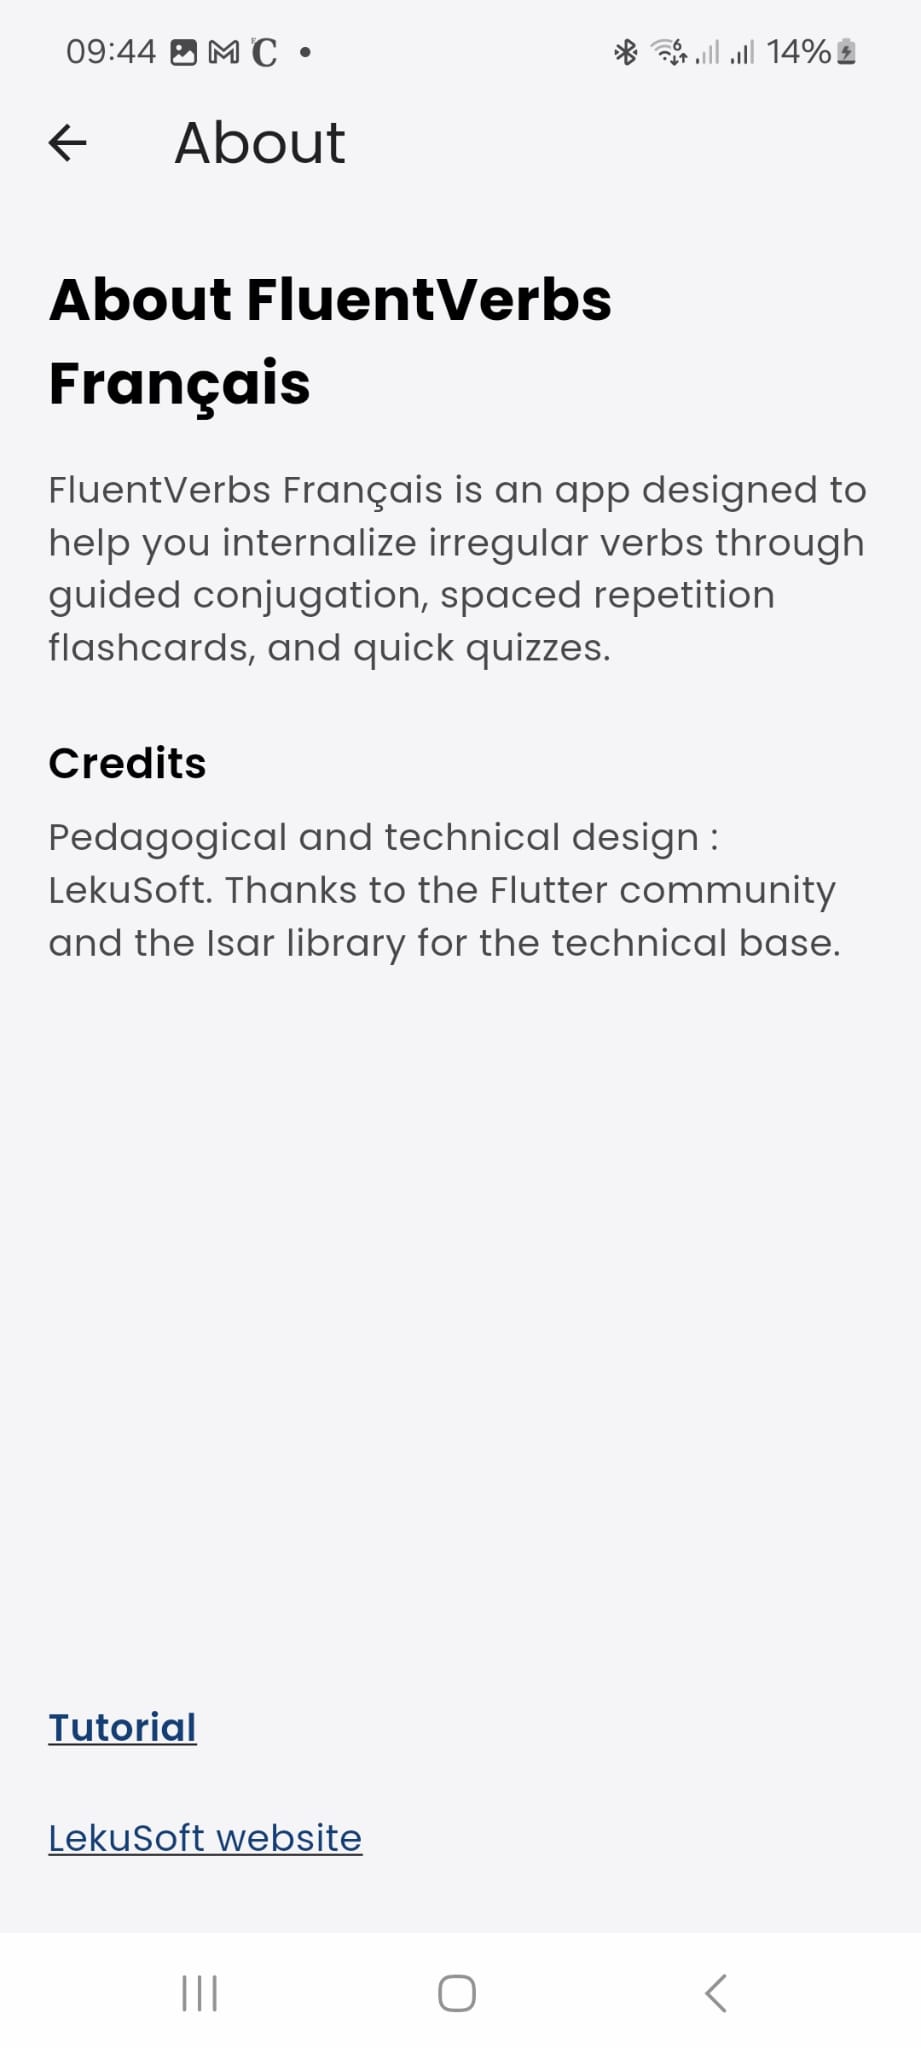 This section of the application shows its goal.
Students can access this tutorial by tapping the link at the bottom of the screen.
Tapping the link just below, “LekuSoft Website”, opens the website of LekuSoft, the development studio behind this application.